
In a previous post I outlined the stages of remote access I’ve had configured in my lab so far, starting with simple port forwarding and RDP, leading to a L2TP VPN to my router. This is all great, and gives me complete access to my lab network from anywhere in the world…as long as I have my laptop (or am comfortable adding my VPN credentials to the computer I’m using). So the question is, what happens when I don’t have VPN access?
Enter Nginx and reverse proxying! Nginx is a very popular web server, similar to Apache. Many people use it for its ease in configuring reverse proxies. Whereas a standard proxy is an internet server that is “bouncing” traffic from an internet server to a local user, a reverse proxy is a local server that is “bouncing” traffic from a local server to an internet user (By definition, this is still technically a proxy, but due to the origin and flow of the traffic, it logically is the reverse of what most people think of a proxy as). What this means is that an instance of Nginx can be configured as a single point of service for another server (or servers) within the LAN. This is beneficial for several reasons:
- Only 1 or 2 ports needs to be forwarded, depending on whether you want http or https, or both
- A single web server can handle requests for pages from multiple services, across multiple machines
- Separate hosts and webpages can be given separate locations on the domain (example.com/location)
- SSL only needs to be configured on a single server to be effective for all traffic on that domain
Setting up a reverse proxy through Nginx is surprisingly simple. After installing Nginx, you’ll want to create a conf file in /etc/nginx/conf.d to contain all your changes. I named mine by the domains that they serve to make it easy to tell apart, as you can create as many as you want and Nginx will read from all of them. It’s generally a good idea to keep them separated to make it easier to change options when necessary. In your conf file you’ll want to put the following lines to create a server block, which contains all the configuration for a web server.
## Start example.com ##
server {listen 192.168.1.48:80; #remove this line to listen on all interfaces
server_name example.com;
access_log /var/log/nginx/example.com.access.log;
error_log /var/log/nginx/example.com.error.log;}
## End example.com ##
This is a basic server block for the domain example.com. Change the listen line to match your web server’s external interface, or remove it to listen on all interfaces. The server_name line defines which requests the server block will handle, in this case all requests to the example.com domain. This isn’t important if you only have 1 domain, but you can create additional conf files or server blocks to serve other domains or subdomains using the same Nginx instance. The access_log and error_log lines define where to store logs, which is important for troubleshooting.
In order to configure the reverse proxy, you’ll need to add a location block. Here’s an example location block for example.com/myapp.
location /myapp/ {
proxy_pass http://192.168.1.47:8181/;
}
It’s pretty straightforward, there is a location line that defines what the location is, and proxy_pass defines the address of the server to be proxied. In this instance, the service running at 192.168.1.47:8181 would be served by Nginx at example.com/myapp. This is the simplest configuration for a reverse proxy setup. Most services will require some additional configuration to support the reverse proxy, so refer to your service’s documentation to find out.
Stay tuned!
 Using the iDRAC 6 Enterprise that came with my R710 (and wow, is it an amazing feature), I was able to install Server 2016 Datacenter without even being at home. The iDRAC has a pretty awesome feature called Virtual Console, which allows you to remotely view whatever is being displayed on the screen at any time, including during boot. (I’m sure this isn’t exclusive to Dell, but it’s the only system like this I have any experience with so far) Along with this is I can attach virtual media, meaning that after I spend about 5 minutes with the server to configure an IP address for the iDRAC, I don’t ever have to sit in front of the server to do any software maintenance again.
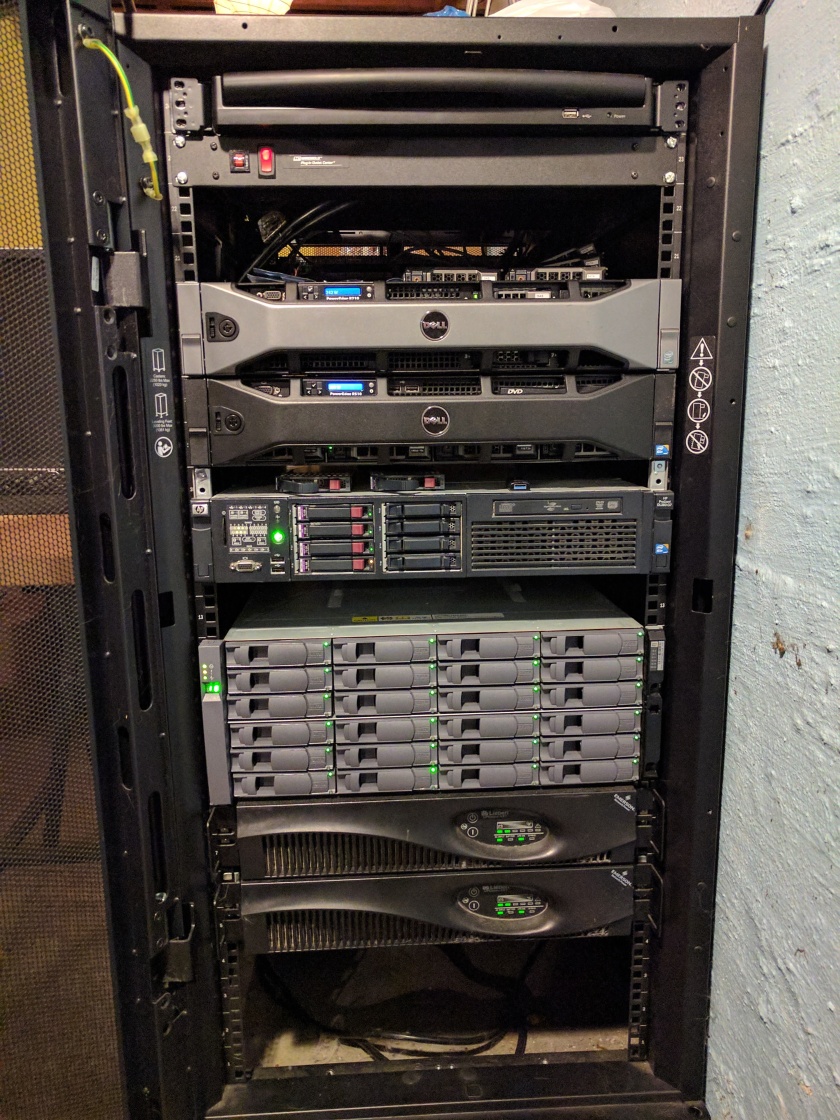 Welcome to my lab!